Trail Camera Setup & Best Practices for Bowhunters in North Carolina
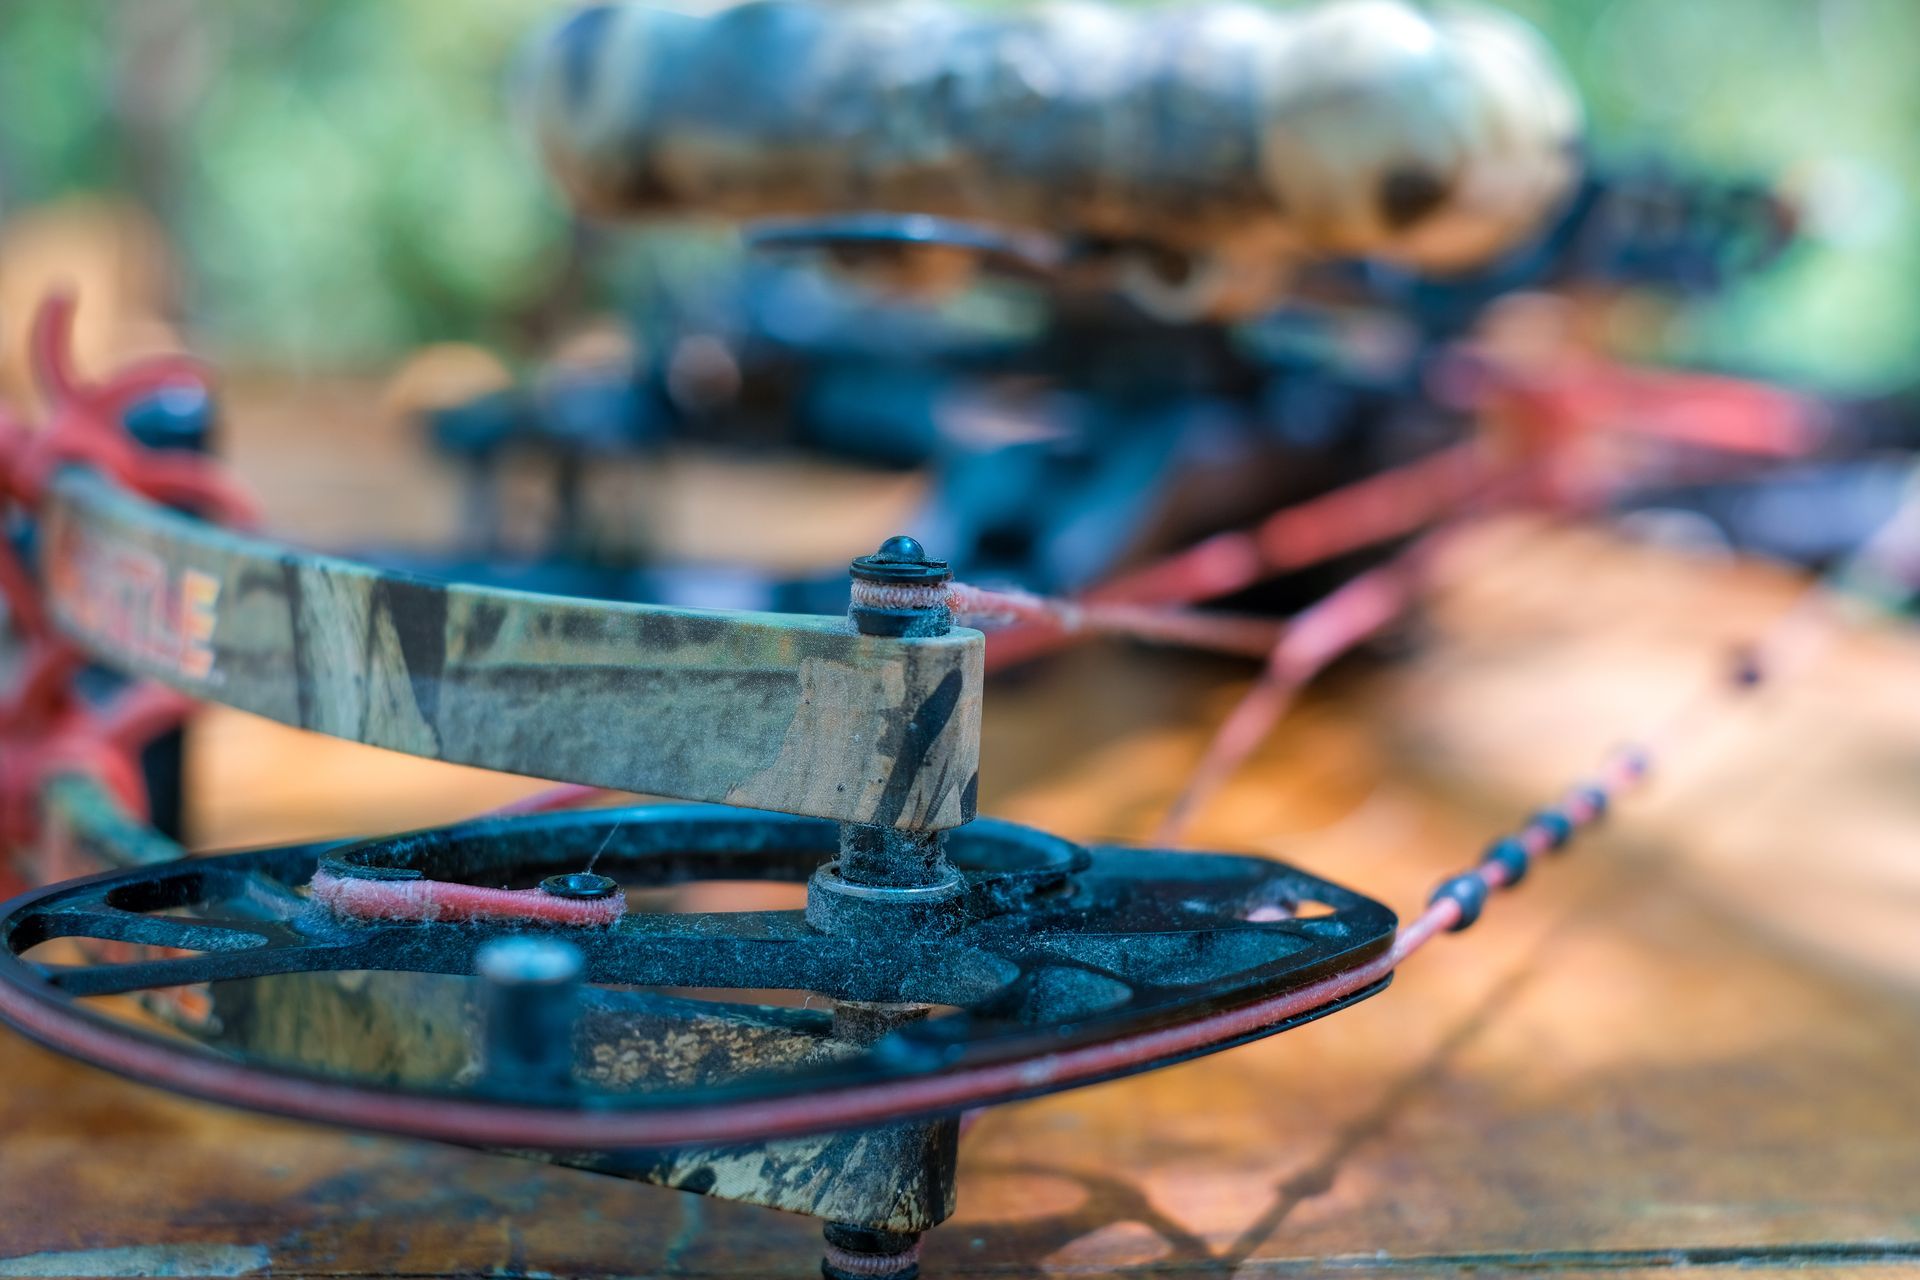
Grafton Archery & Outdoors
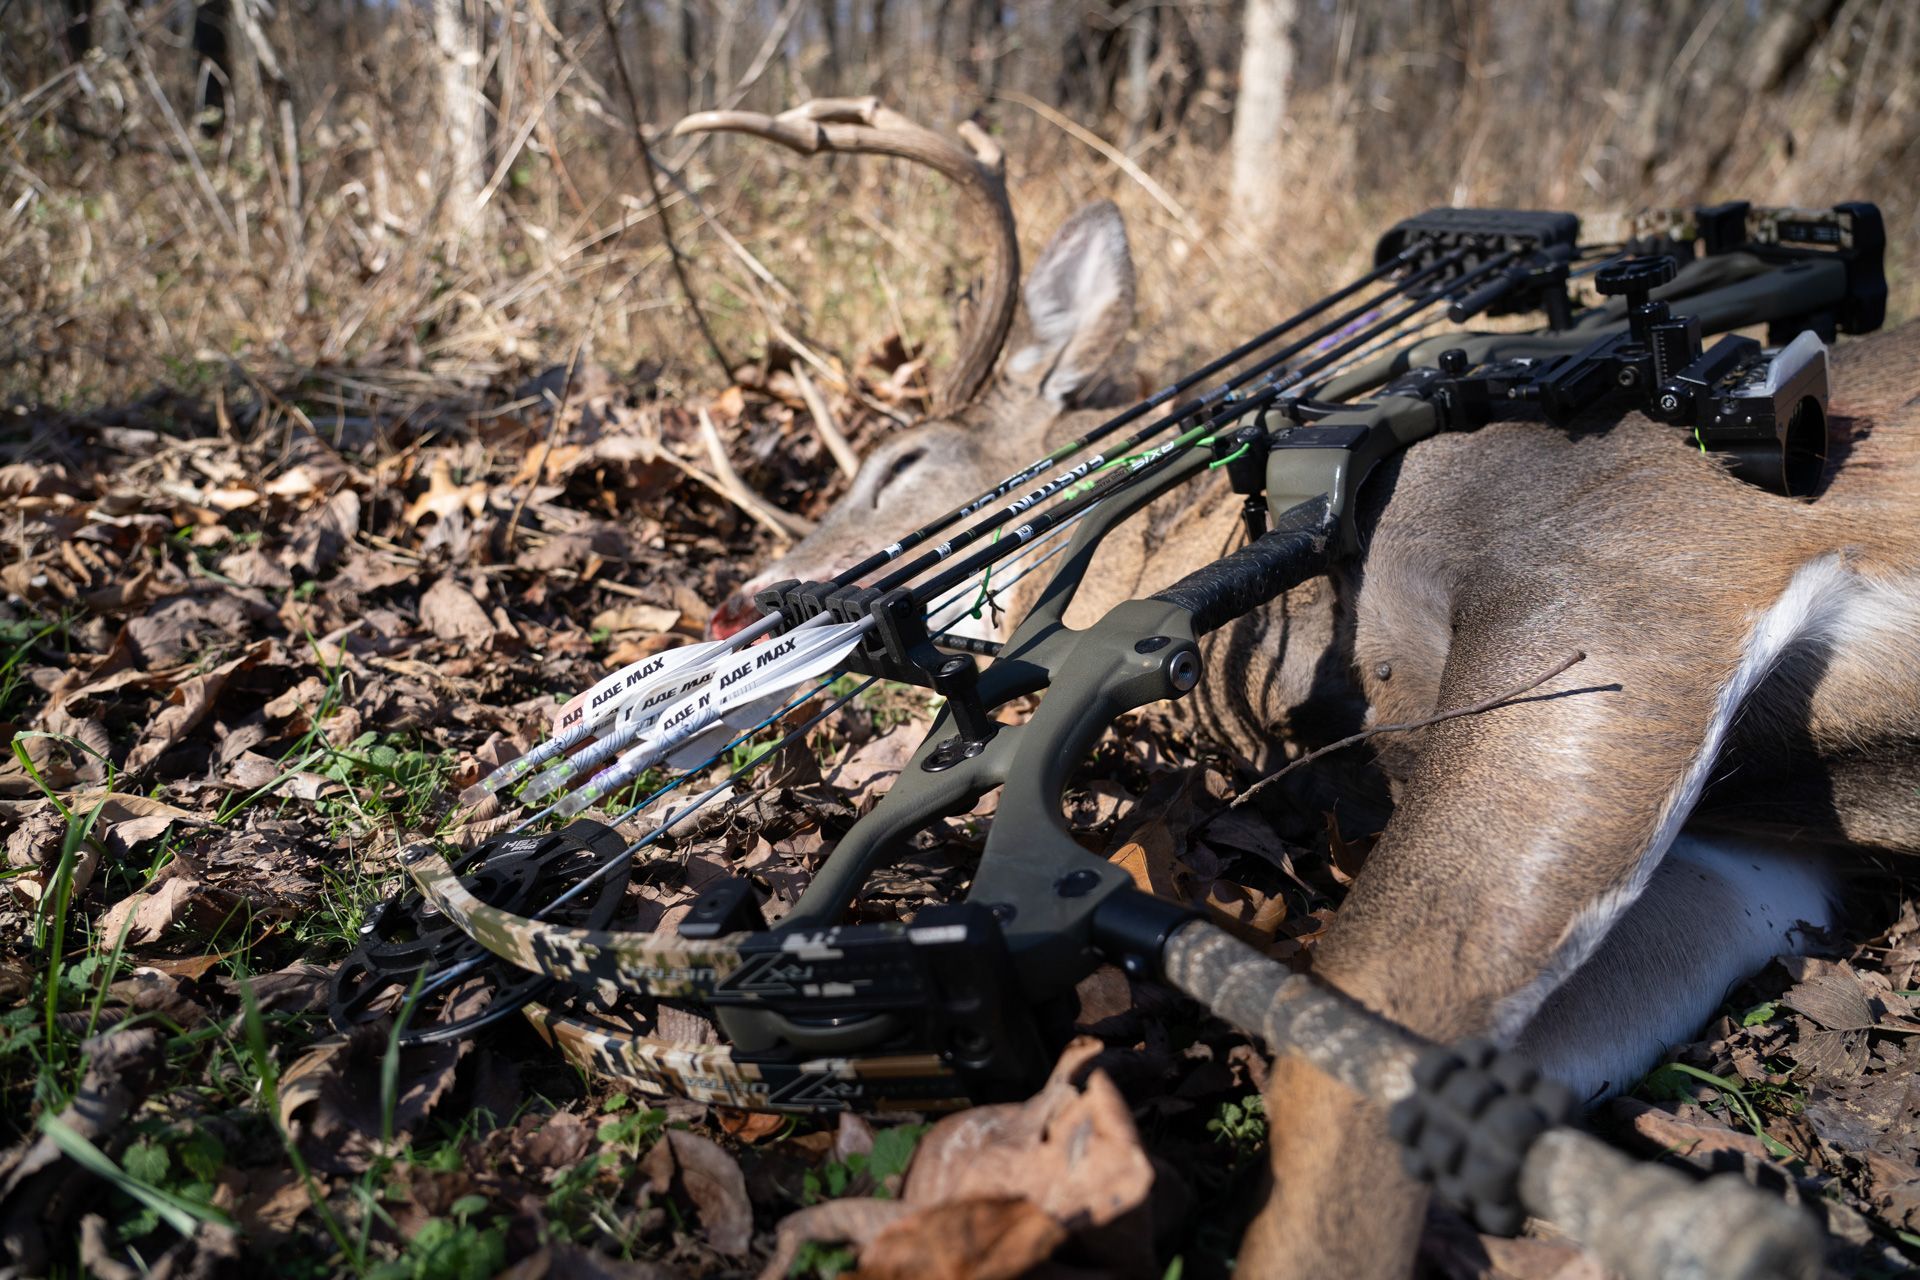
For bowhunters, scouting is half the battle. You can practice all summer, have your bow tuned perfectly, and be ready for that perfect shot, but if you do not know where the deer are moving, you are just hoping to get lucky. That is where trail cameras come in. A good trail camera setup is like having eyes in the woods around the clock. It shows you patterns, times of movement, and even the quality of the deer that are walking your hunting areas. Done right, trail cameras give you an edge. Done wrong, they can spook deer or leave you with empty SD cards and no useful information.
The first thing to think about is placement. Too many hunters put a camera anywhere they think looks good and then wonder why they are not getting quality pictures. Deer move with purpose. They follow trails, use natural funnels, and travel to food and water. Placing your camera on a well-used trail is a good start, but think about how deer actually move. If you are setting up in the early season, food sources like beans, corn, or acorns are great spots. Later in the season, scrapes and rub lines become prime areas. If you can find where trails converge or where a thicket meets an open field, that is often where you want your camera.
Height is another big factor. Many hunters set their cameras too low, right at eye level with deer. This can cause deer to notice the camera, and sometimes they spook. A better approach is to set the camera a little higher, around six to seven feet off the ground, and angle it slightly downward. This keeps it out of direct sightlines and also helps you capture better shots of the deer’s body rather than just the top of their head or antlers.
Settings matter too. Modern trail cameras have plenty of options, and using them right makes a big difference. Trigger speed is one of the most important. If your camera is slow, you may only get a picture of a tail as the deer walks out of the frame. A faster trigger speed ensures you catch the whole animal. Recovery time is another factor. If your camera takes too long between shots, you might miss multiple deer traveling together. Think about resolution as well. High resolution pictures are nice, but they take more space on your SD card and drain batteries faster. If you are mainly interested in movement patterns, a mid-level resolution often does the job just fine.
Lighting is also something to consider. Infrared flash is usually best because it is less likely to spook deer. White flash gives clear pictures but can make deer nervous, especially mature bucks. Black flash is nearly invisible but can be more expensive. The type of flash you choose should match how much detail you need and how pressured the deer are in your area.
Batteries and solar panels can make or break your setup. A dead camera helps no one, and going in and out of the woods to change batteries too often can leave human scent that spooks deer. Investing in high-quality lithium batteries or external solar panels keeps your camera running longer with fewer trips to disturb the area. If you are running cellular cameras, good power is even more important. The last thing you want is to have a camera go down right when the rut is heating up.
Another detail many hunters overlook is scent control. When you are setting cameras, treat it like you are hunting. Wear gloves, use scent-free spray, and try to minimize your time at the site. Deer have incredible noses, and if they smell that you have been there, they may change their travel patterns. You want them to behave naturally in front of your camera, not avoid the area because they associate it with danger.
How often you check your cameras is another key decision. For traditional SD card cameras, it can be tempting to go swap cards every few days to see what you have. The problem is that constant visits leave scent and pressure that deer notice. Once a week is usually more than enough, and sometimes less often is better if you are deep in bedding areas. With cellular cameras, you can cut down on visits entirely, which is one of the reasons they have become so popular.
Once you have pictures, the real work begins. Do not just look at antlers. Pay attention to times of movement. Are deer showing up consistently at dawn or dusk? Are they using a trail only after midnight? Are there patterns that shift with the weather? By studying the data, you can adjust your stand locations and hunting times to match when deer are most vulnerable. Sometimes you will even see the same buck move through different cameras, giving you a map of his core area.
For North Carolina hunters specifically, trail cameras can be especially useful during the early bow season when food sources drive movement. They are also great tools for monitoring rut activity when bucks start checking scrapes and does move differently than normal. With the long seasons here, you can use cameras to track changes from summer feeding patterns to late season survival mode. Each stage of the season gives you different information, and having cameras out helps you adapt as things shift.
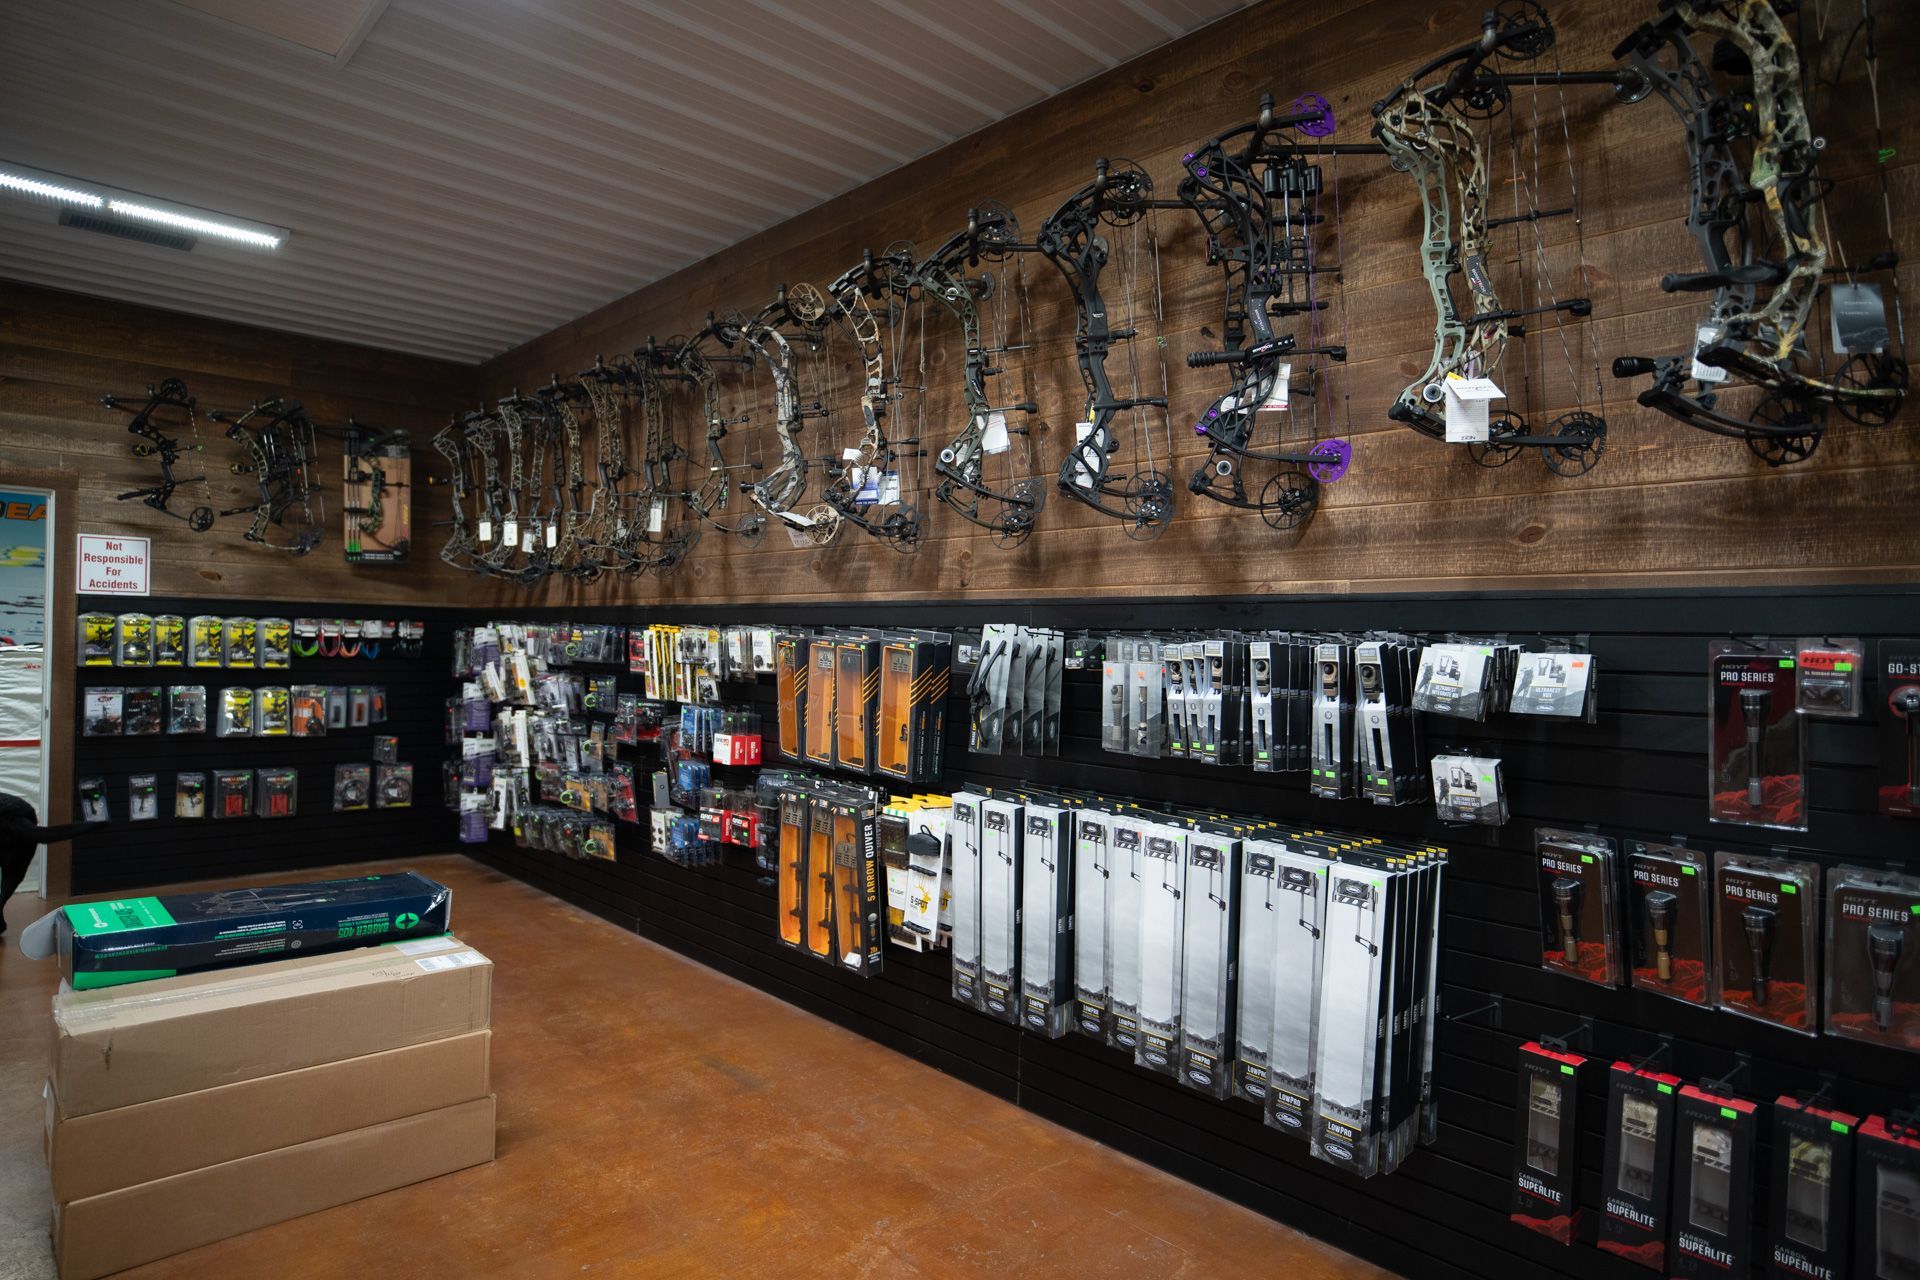
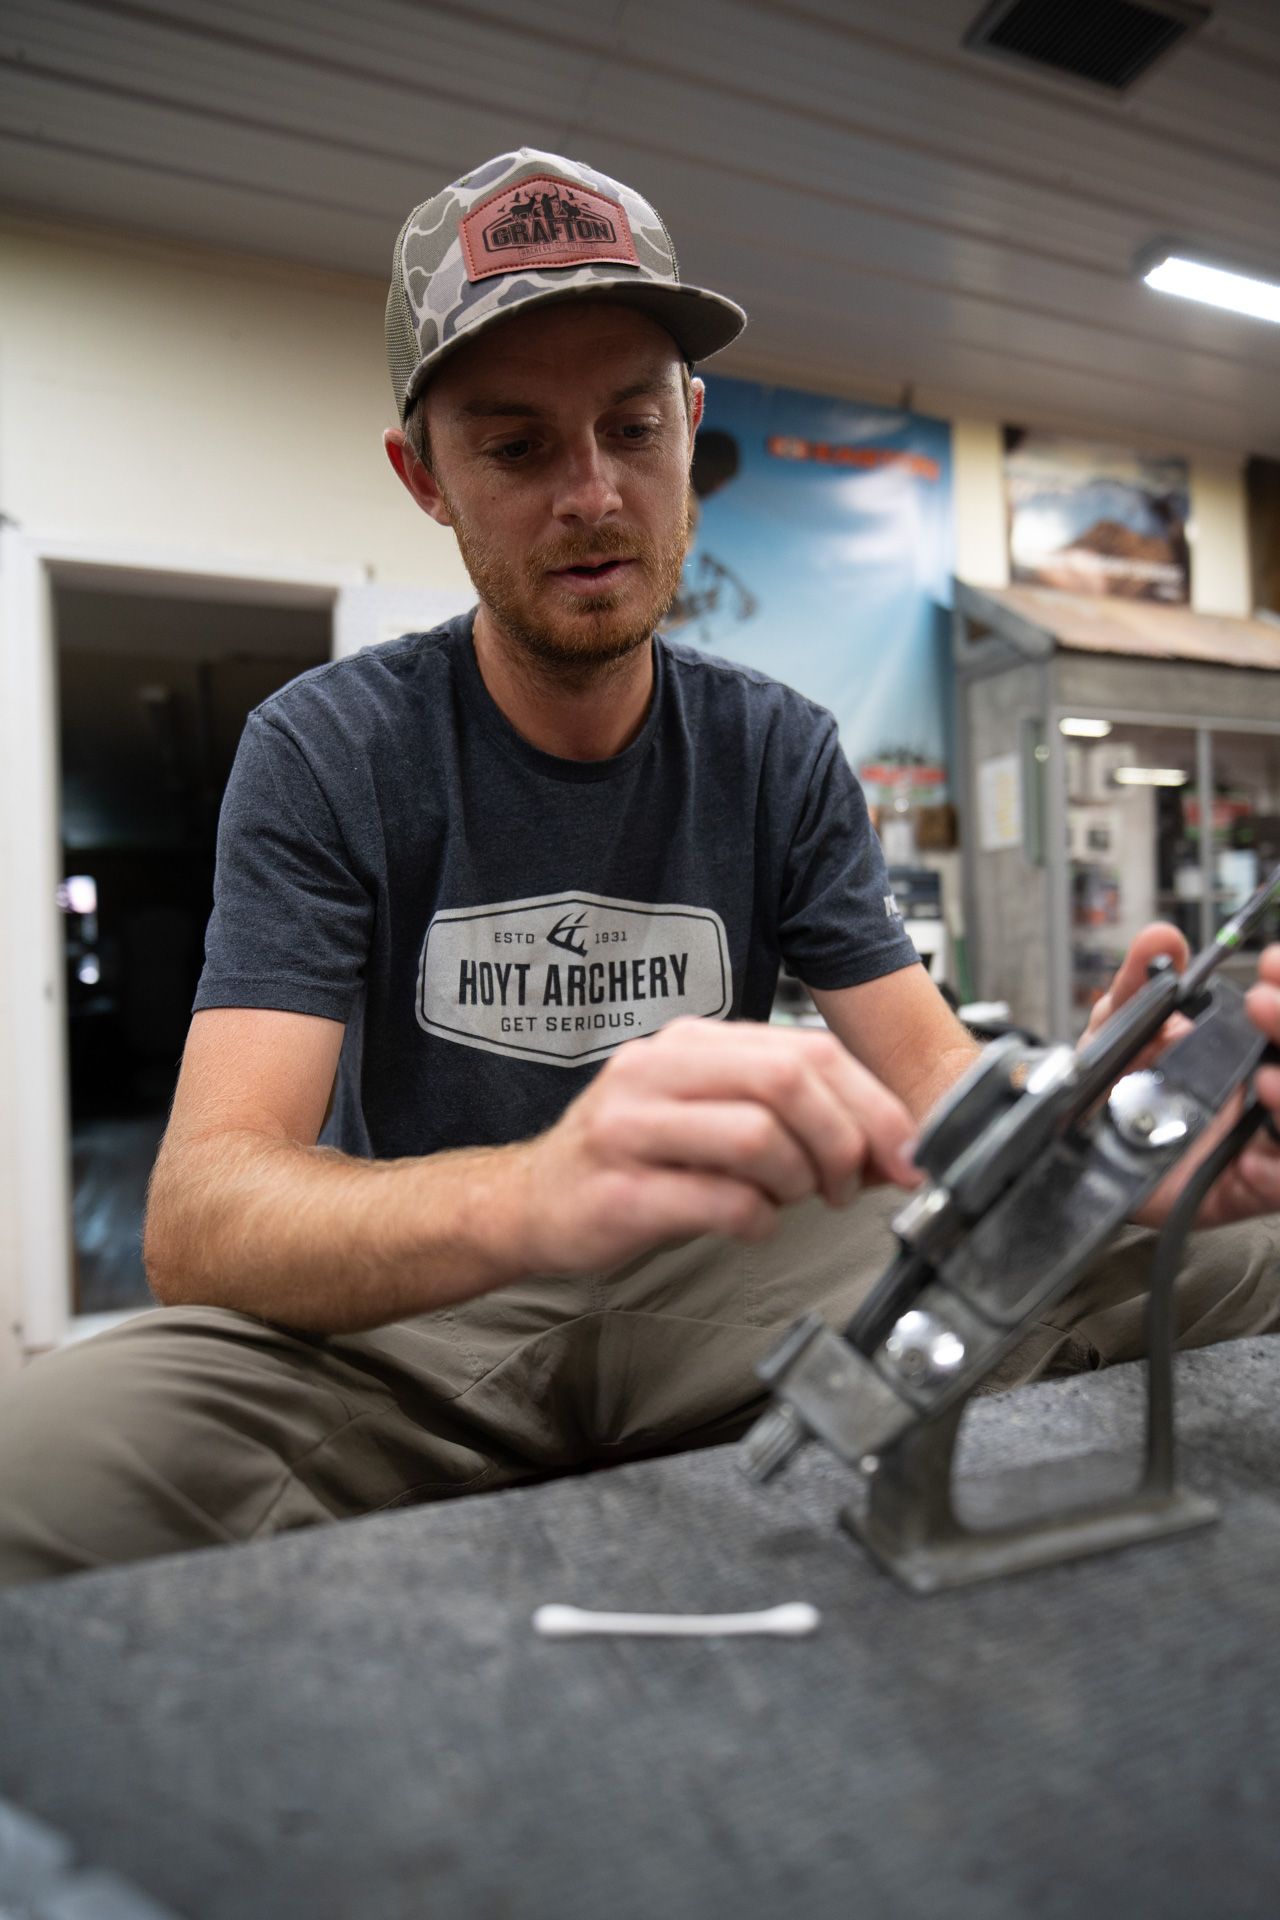
At Grafton Archery & Outdoors, we carry the cameras, accessories, and power options that make all of this easier. More importantly, we help hunters learn how to set them up correctly. If you are new to trail cameras, we can walk you through placement strategies, explain settings, and help you pick the right camera for your needs. If you are more advanced, we can show you how to use solar panels, external antennas, and higher-end models to take your scouting to the next level.
The bottom line is that trail cameras are tools. They are only as good as the way you use them. When set up with thought and care, they give you incredible insight that makes your hunts more effective. When slapped on a tree without planning, they often lead to empty pictures and wasted effort. Taking the time to do it right pays off in knowledge, confidence, and ultimately in success.
So before you head out this season, think about how your cameras are set up. Consider whether your placement, height, settings, and power options are giving you the best possible information. And if you want help, stop by Grafton Archery & Outdoors. We have decades of experience, we know the local patterns, and we can make sure your cameras are working for you instead of against you. A good setup can be the difference between guessing where deer might be and knowing exactly when and where to be in the stand.